ubuntu 24.04 インストール
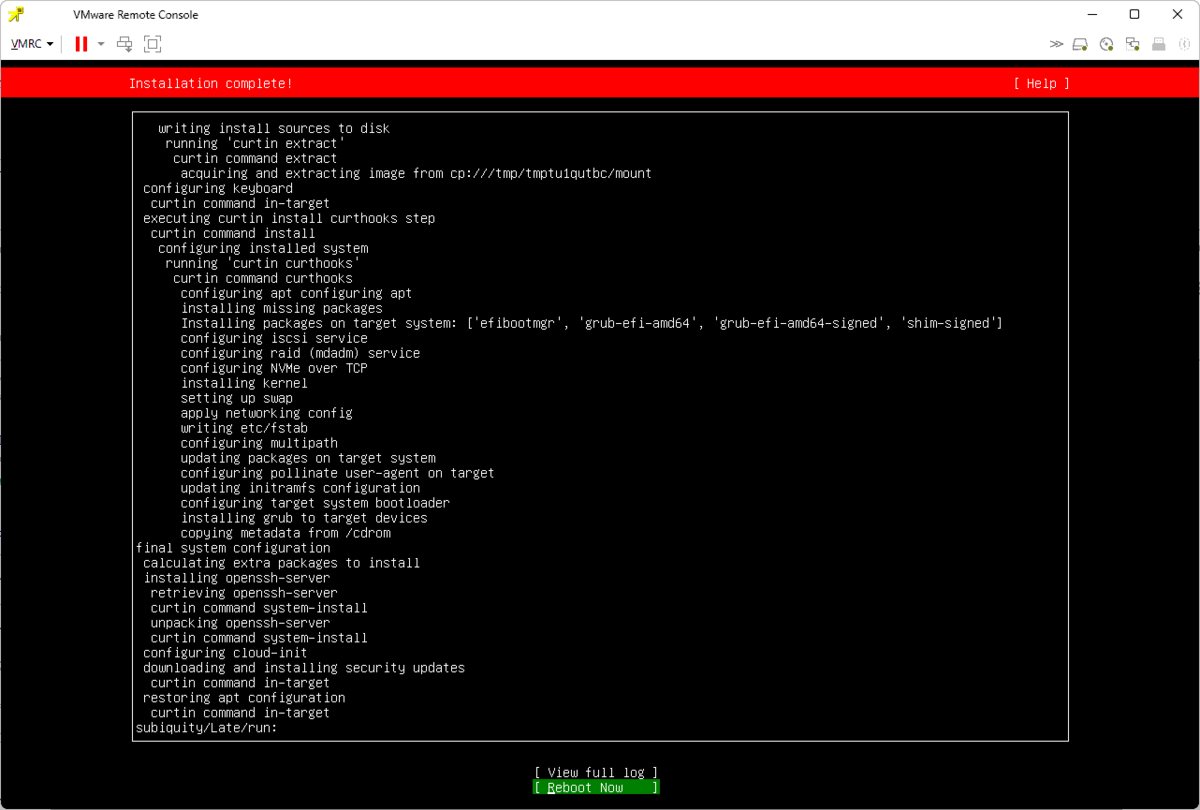
ubuntu 24.04 server を インストール してみた インストールは、昔に比べて簡単になりましたね。 説明は必要ない感じ。。
STEP1
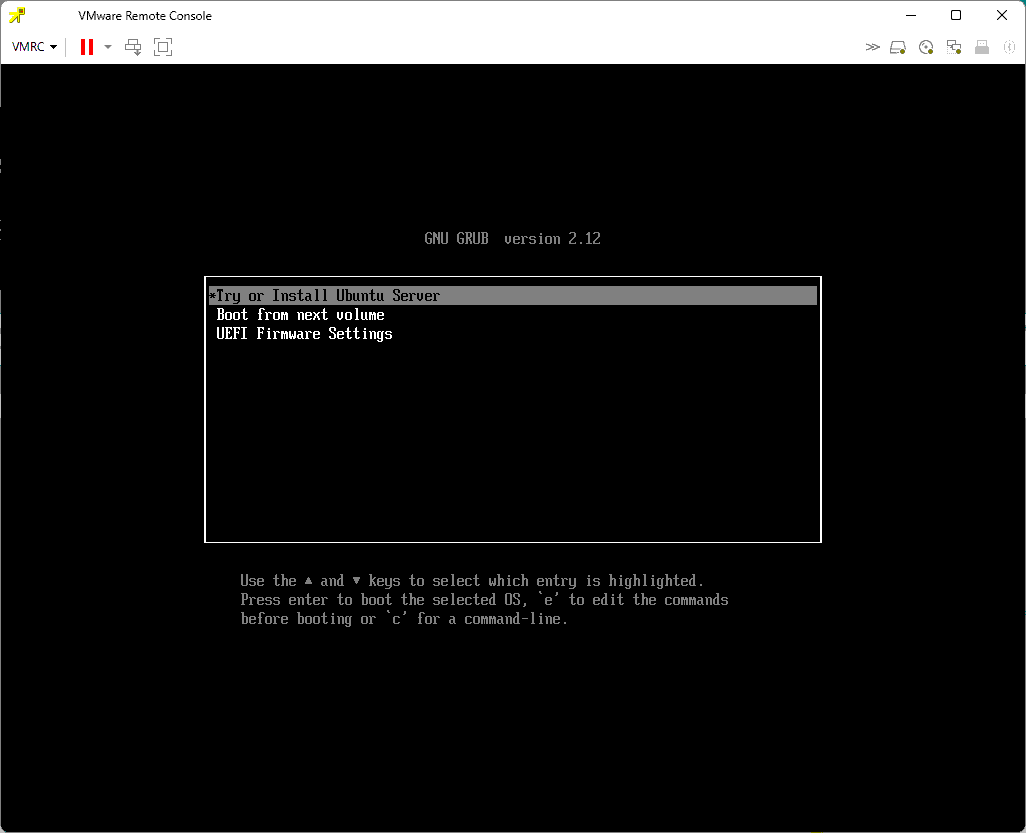 STEP2
STEP2
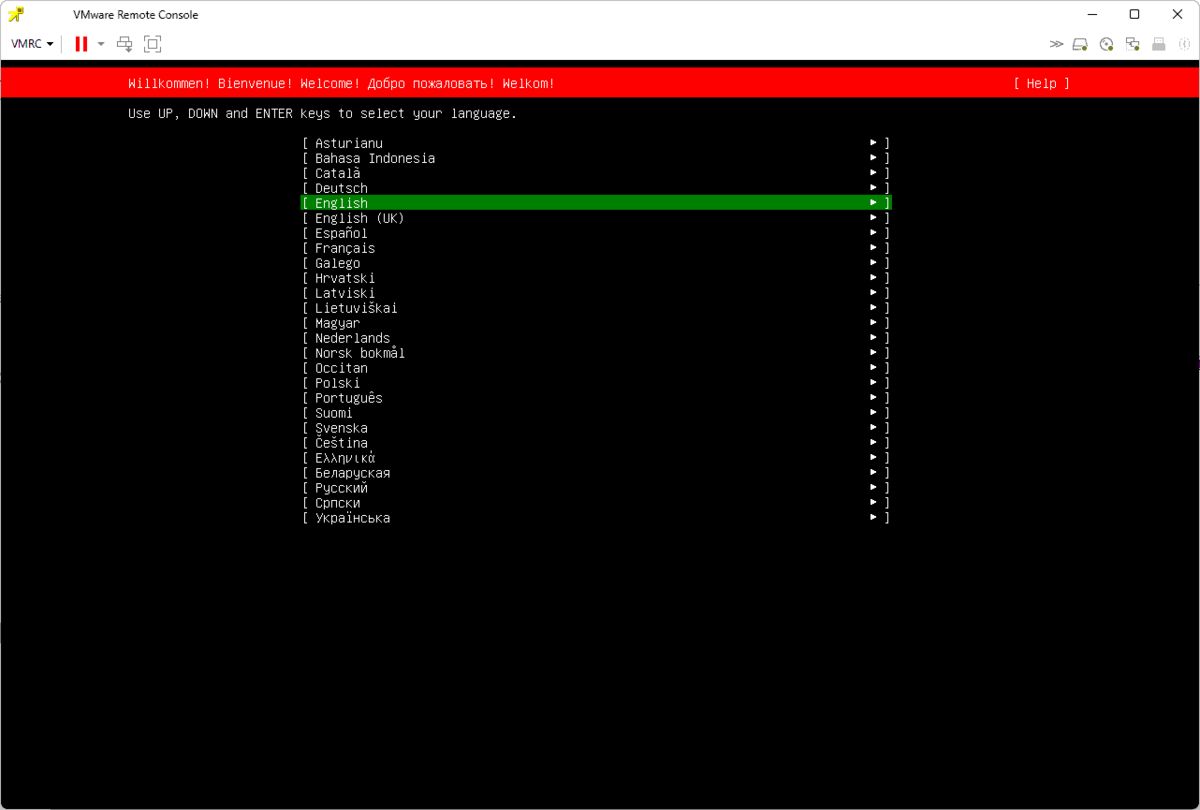 STEP3
STEP3
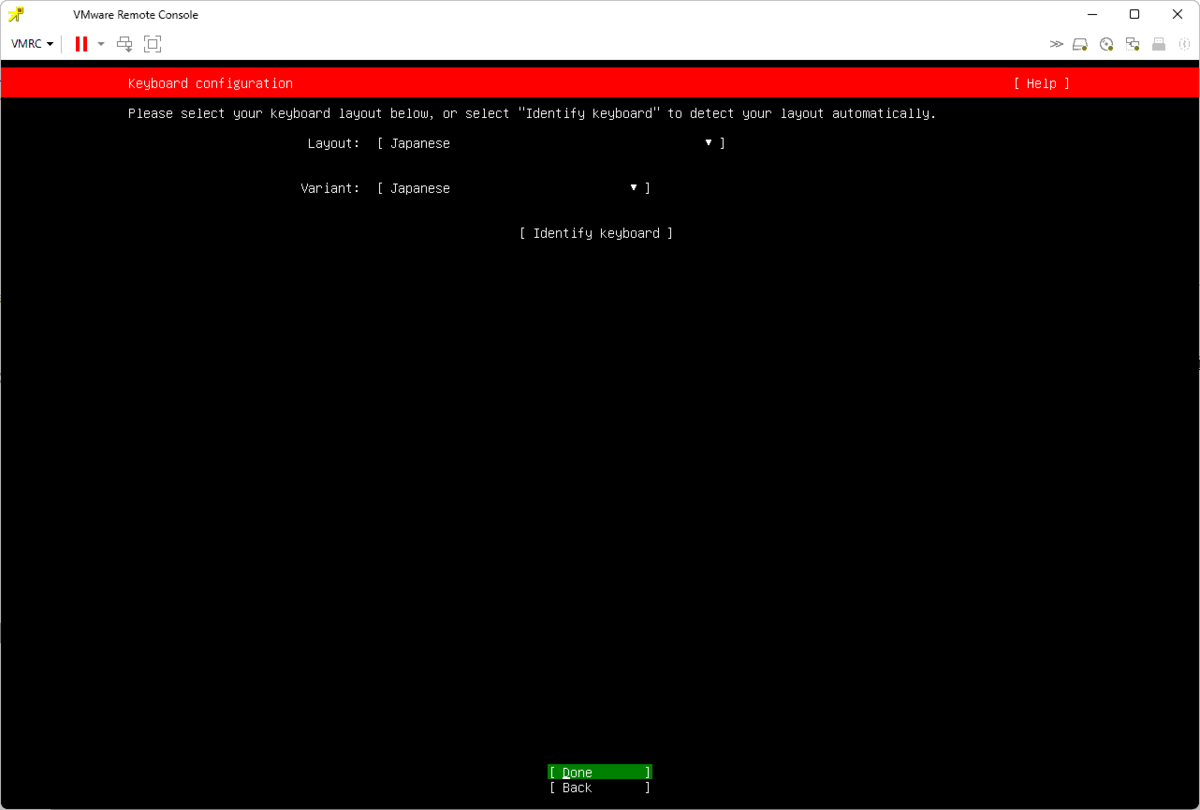 STEP4
STEP4
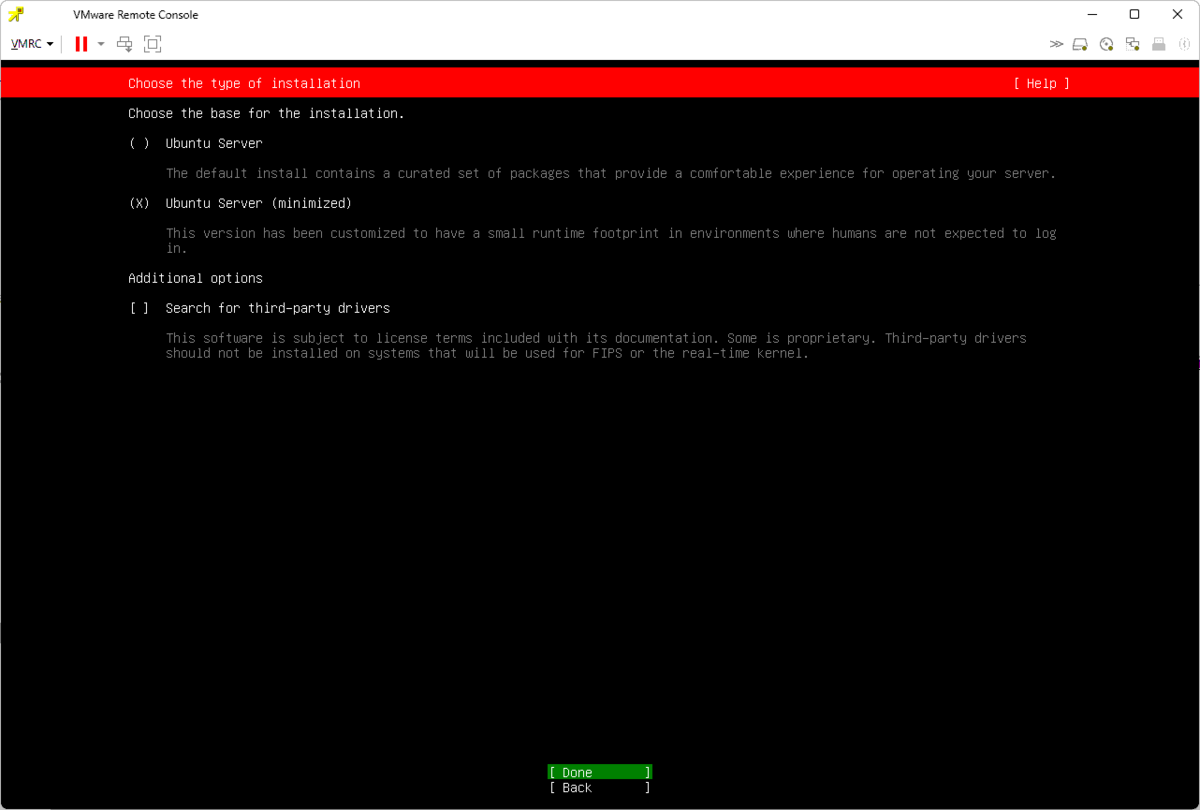 STEP5
STEP5
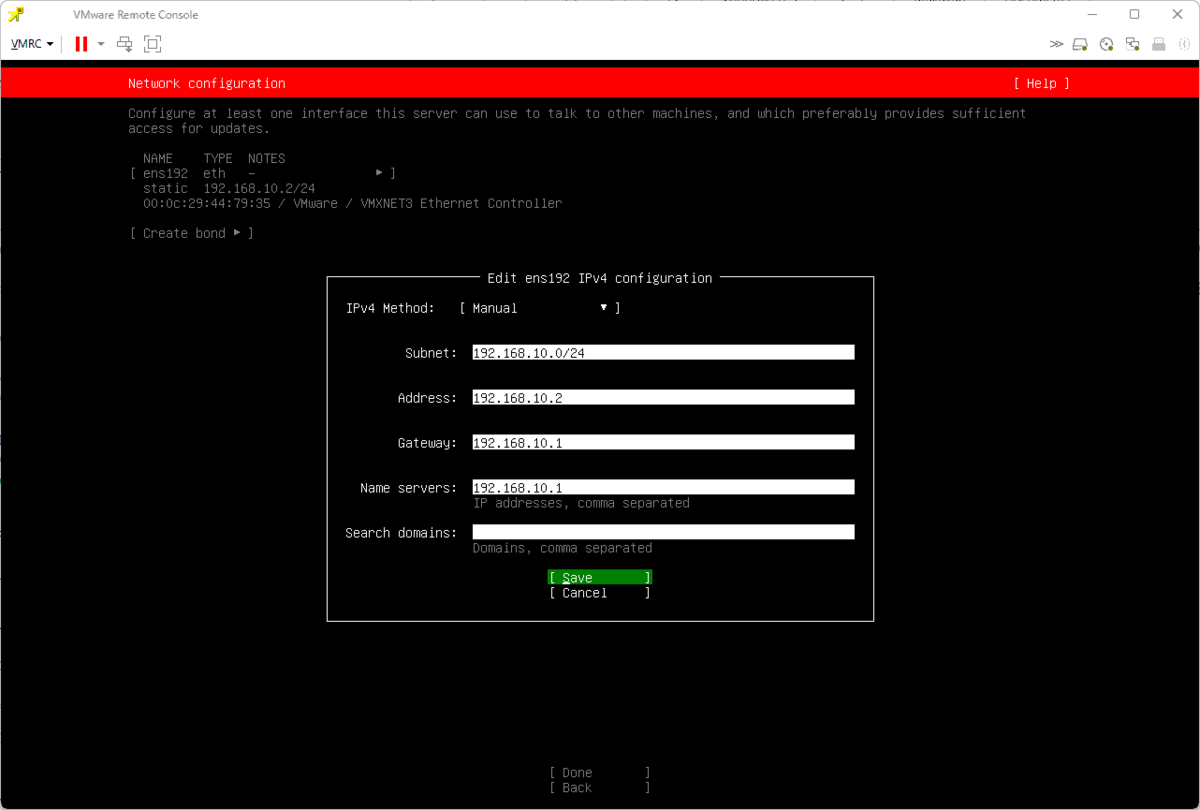 STEP6
STEP6
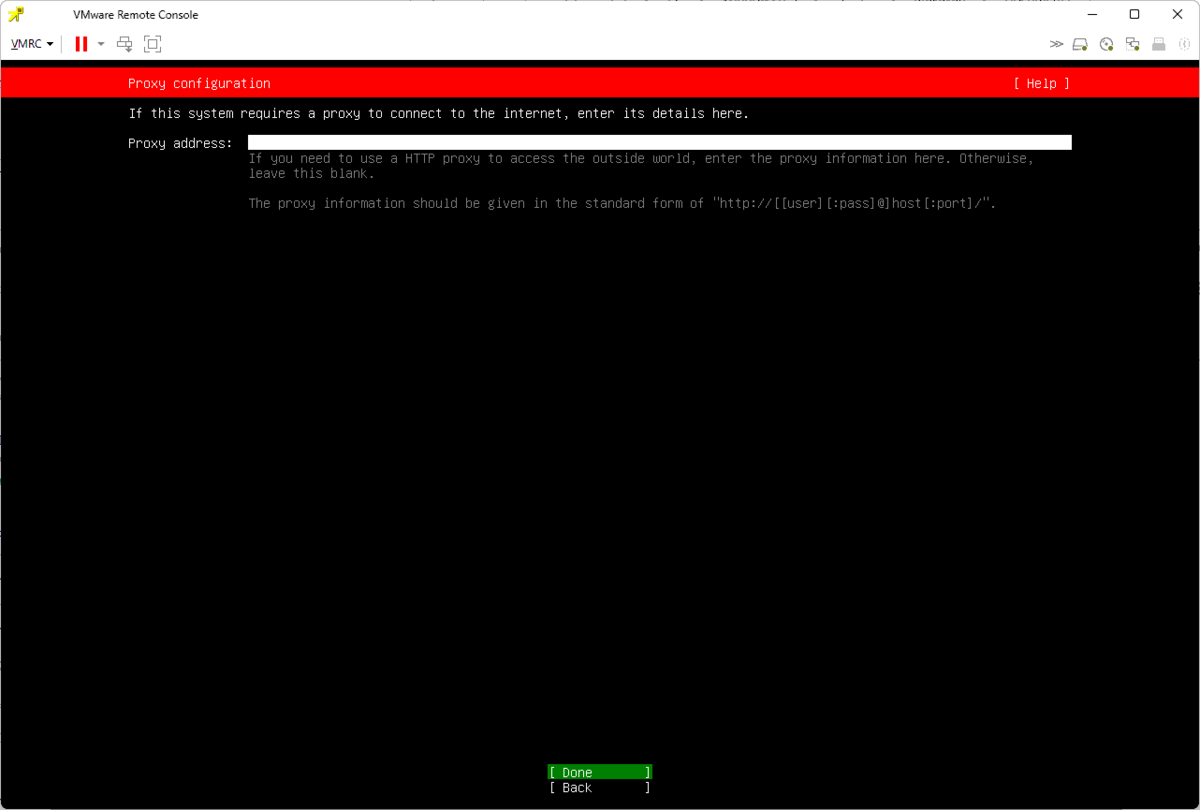 STEP7
STEP7
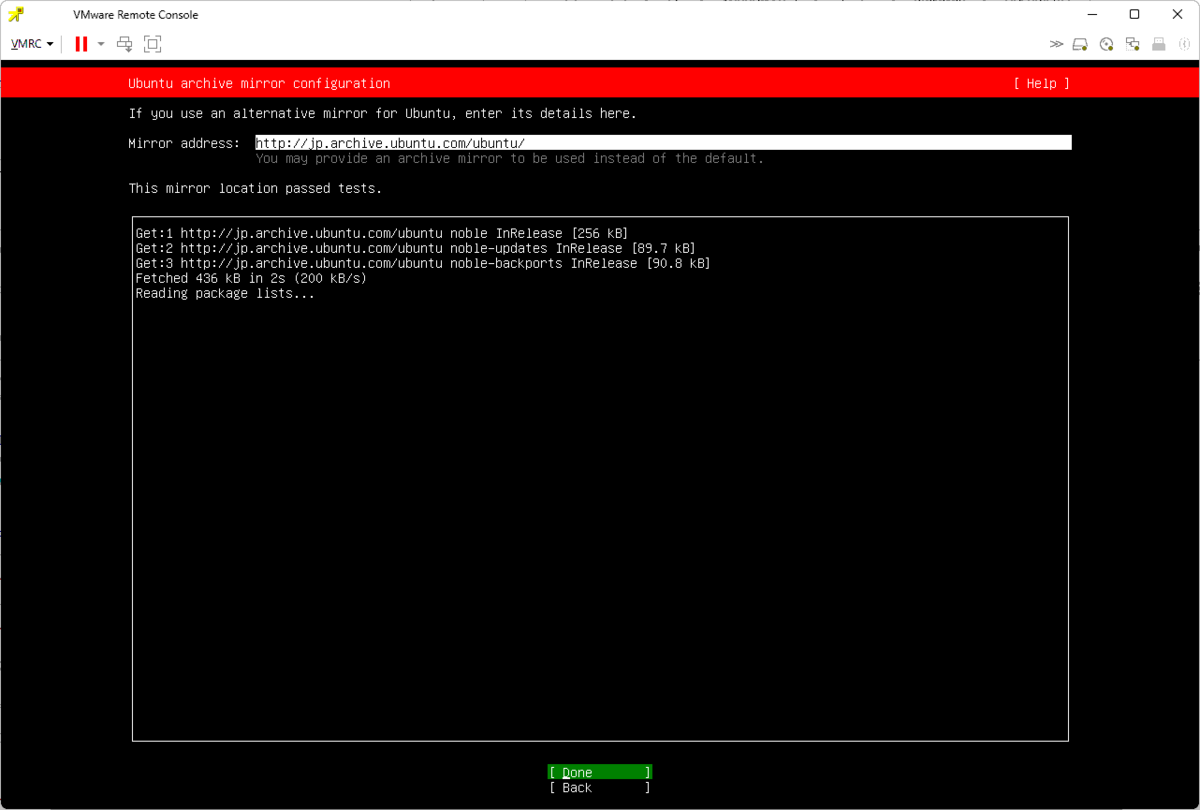 STEP8
STEP8
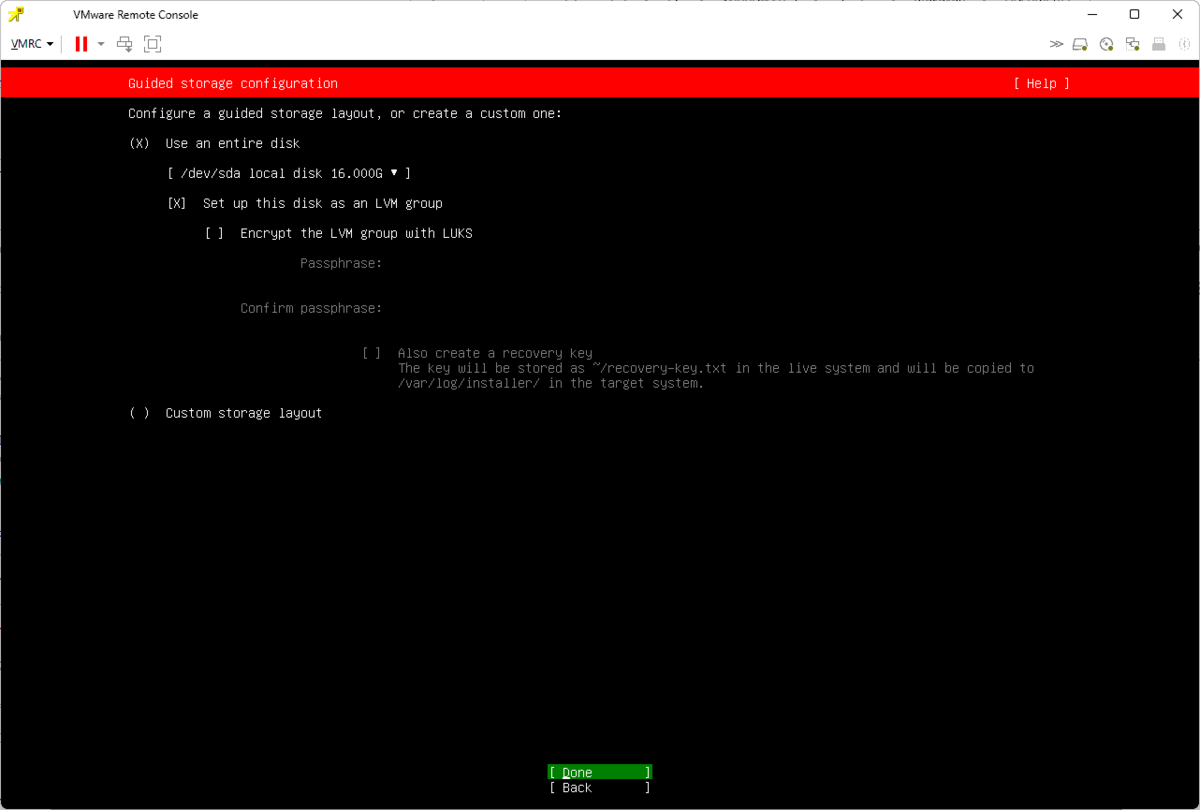 STEP9
STEP9
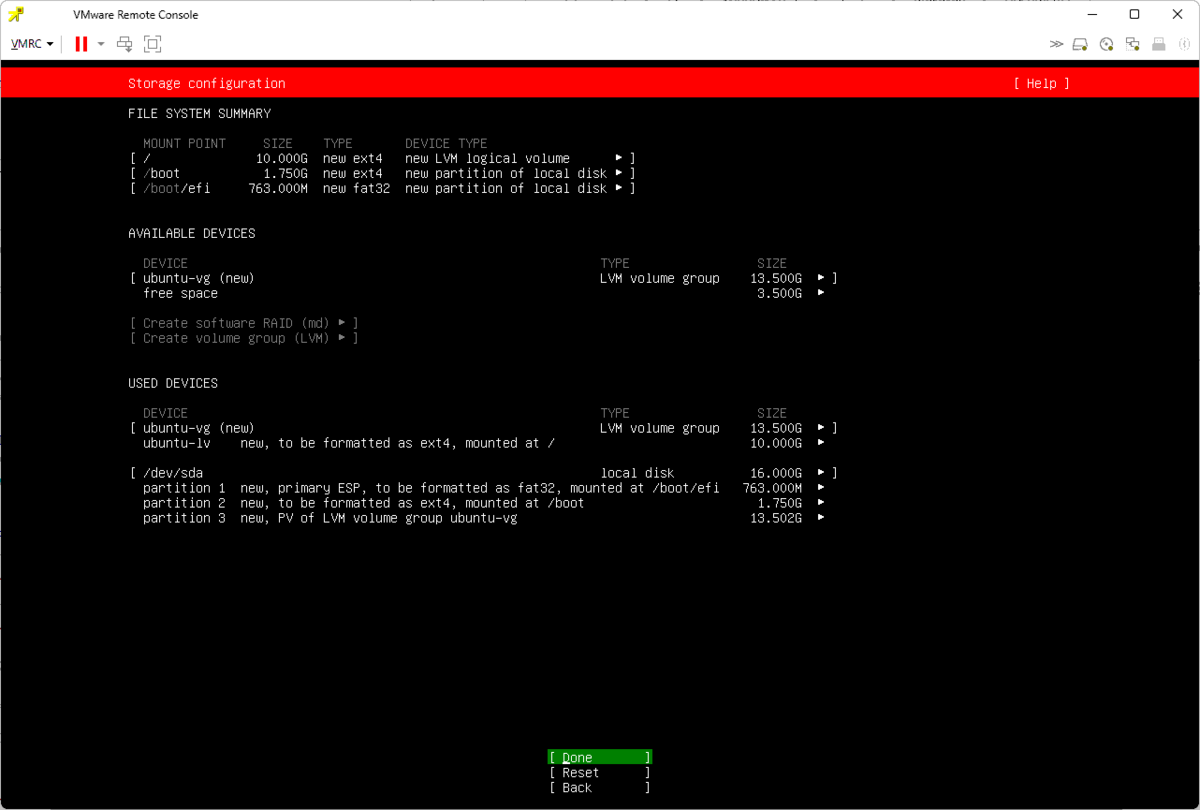 STEP10
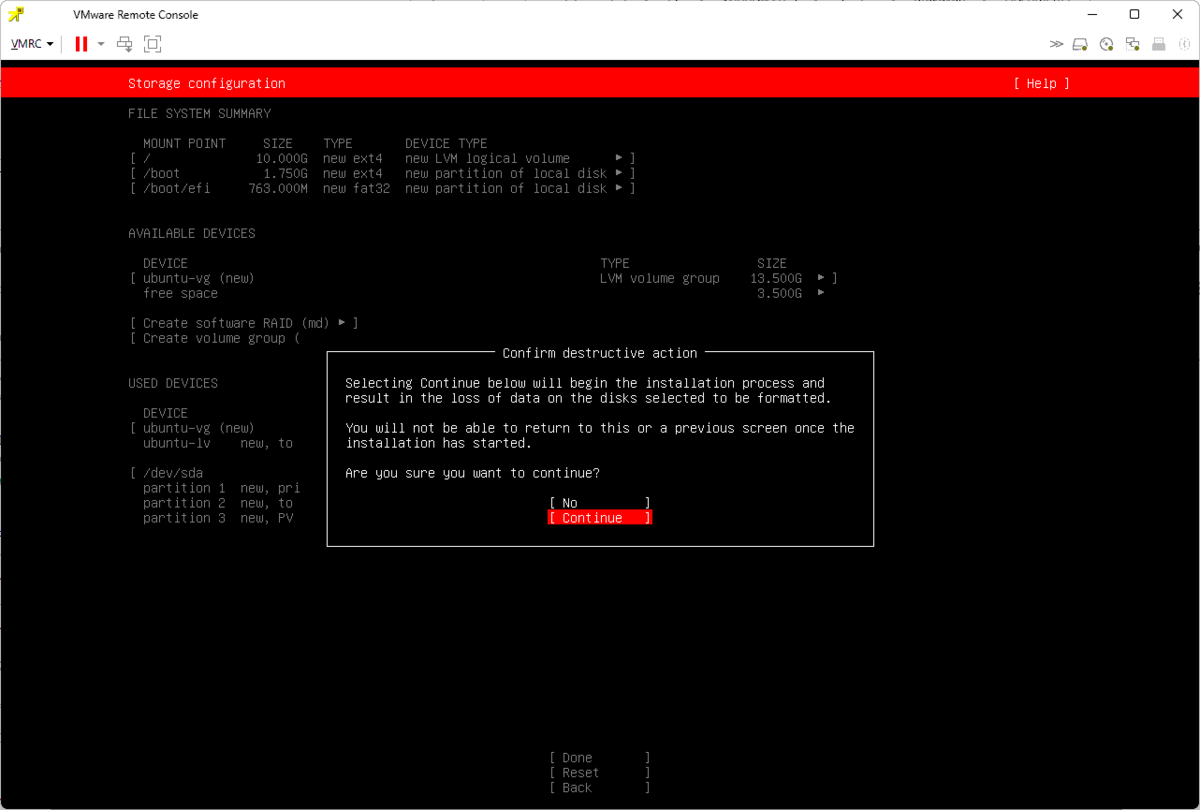 STEP11
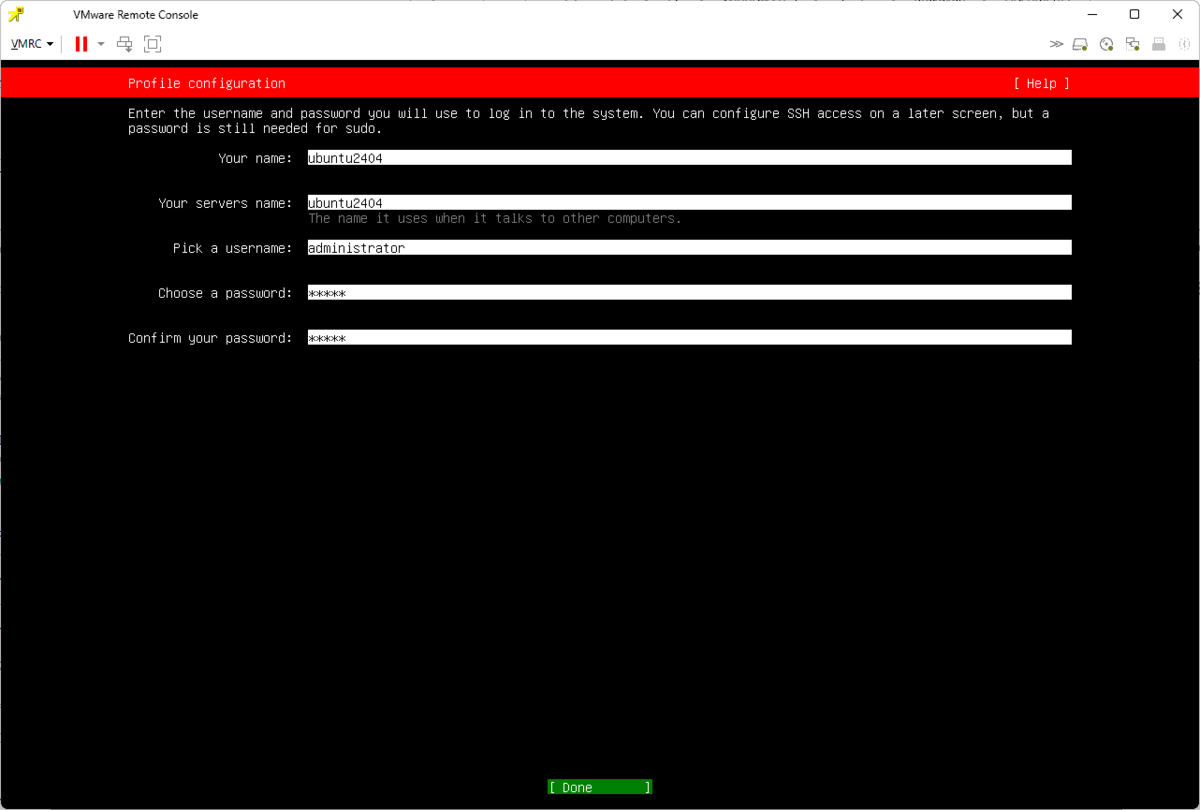 STEP12
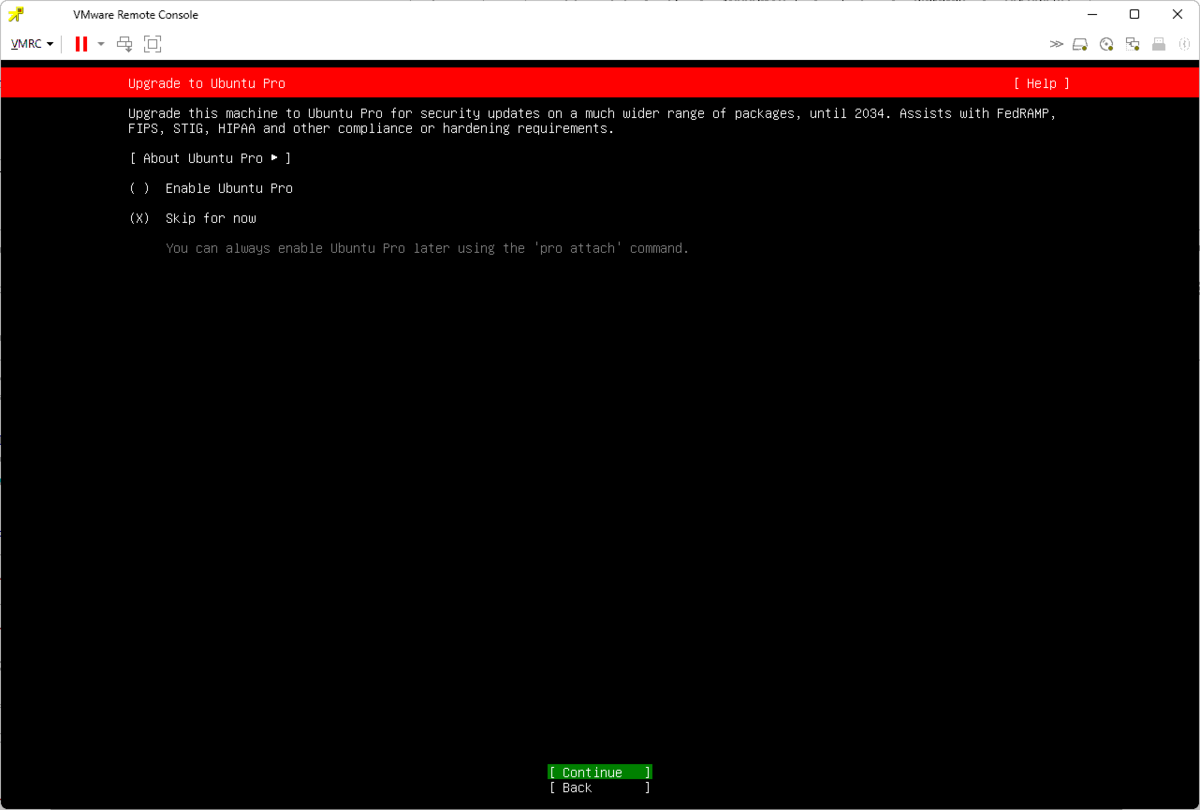 STEP13
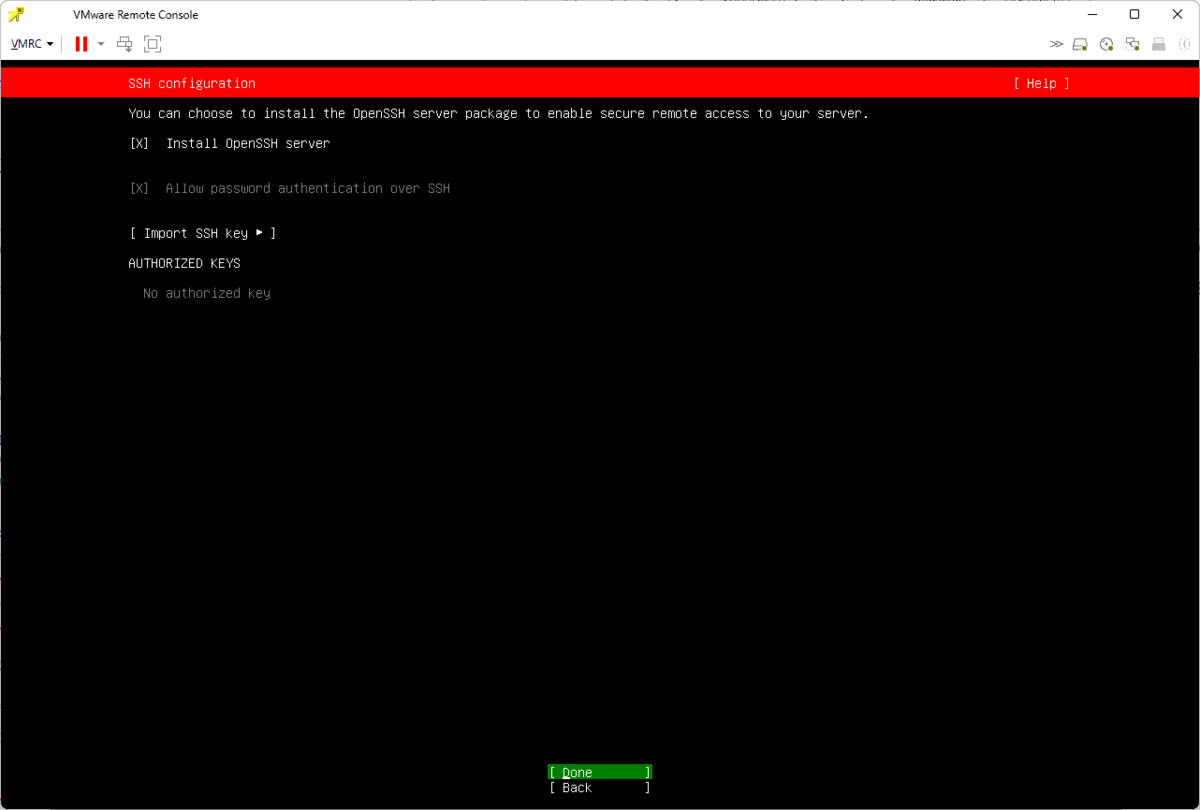 STEP14
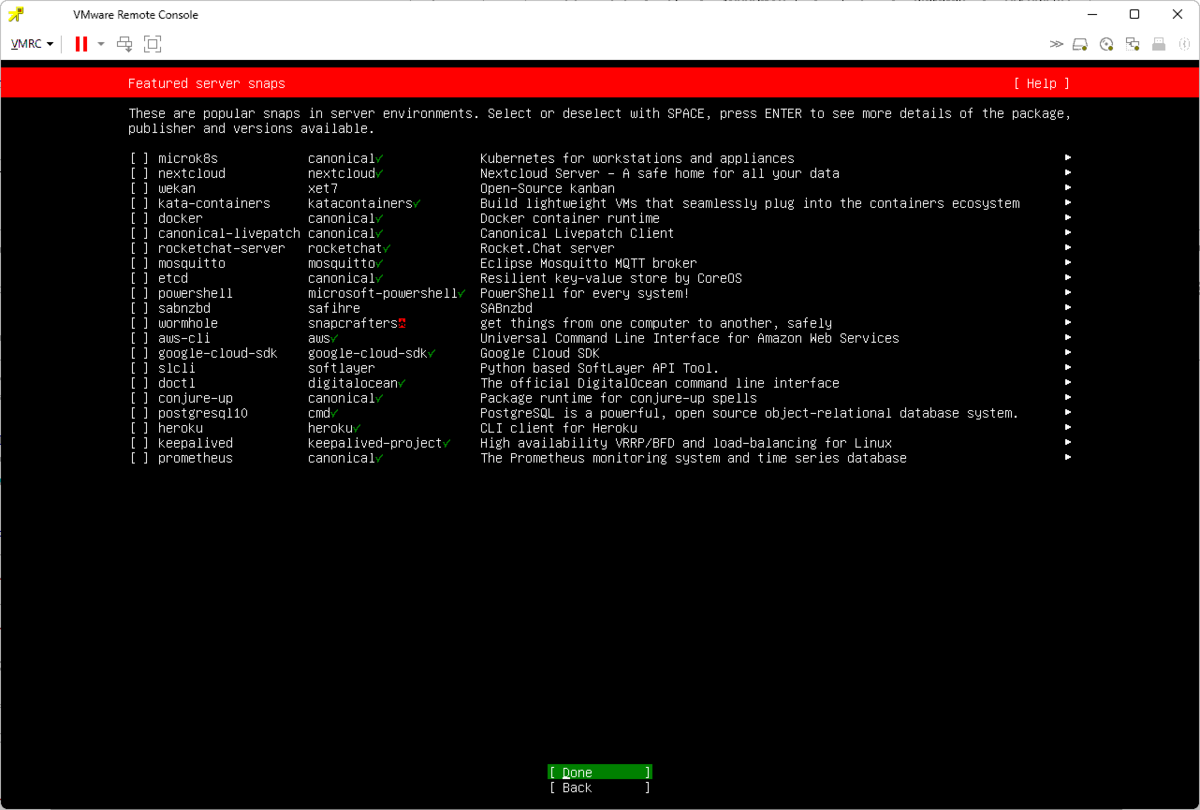 STEP15
2024 目標
ブログを再開していこうと思います!
Micro Profile API version
Micro Profile のAPI バージョンについてまとめてみました
http://resonantforever.servebbs.net/devel/wiki/index.php/Java_MicroProfile
参考:https://de.wikipedia.org/wiki/MicroProfile
いろいろ調べていく予定です。
ubuntu 20.04 server install
ubuntu 20.04 server インストール(ネットワークインストール)
- イメージダウンロード
http://archive.ubuntu.com/ubuntu/dists/focal/main/installer-amd64/current/legacy-images/netboot/
からmini.isoをダウンロード - 起動
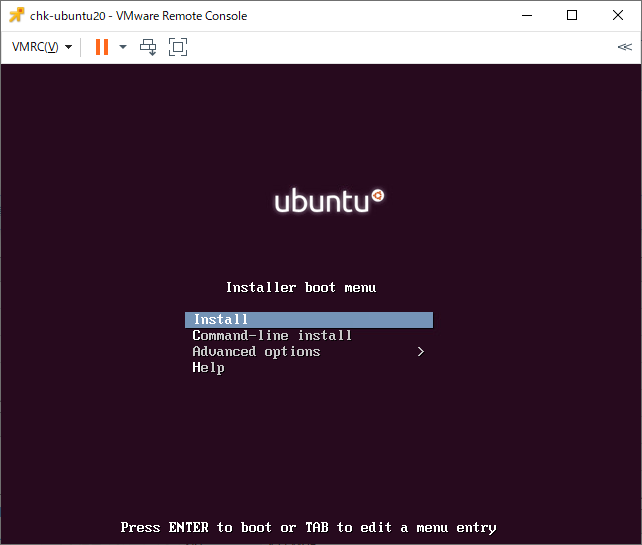
installを選択 - 言語を選択
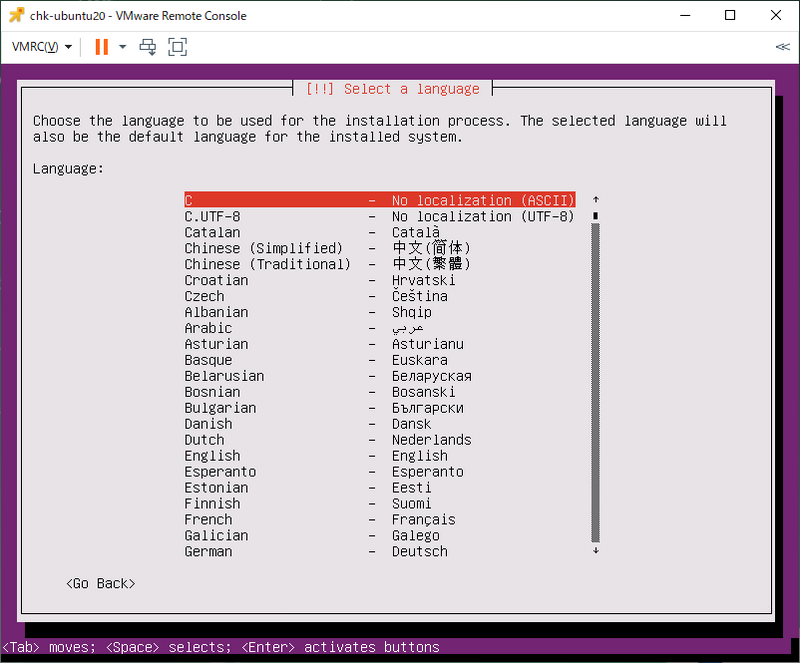
Cを選択 - 地域情報を選択
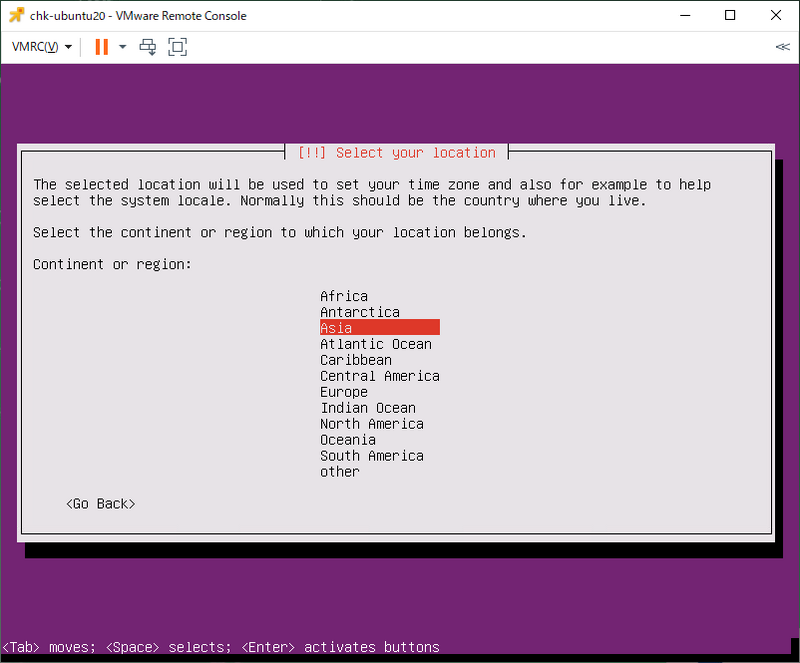
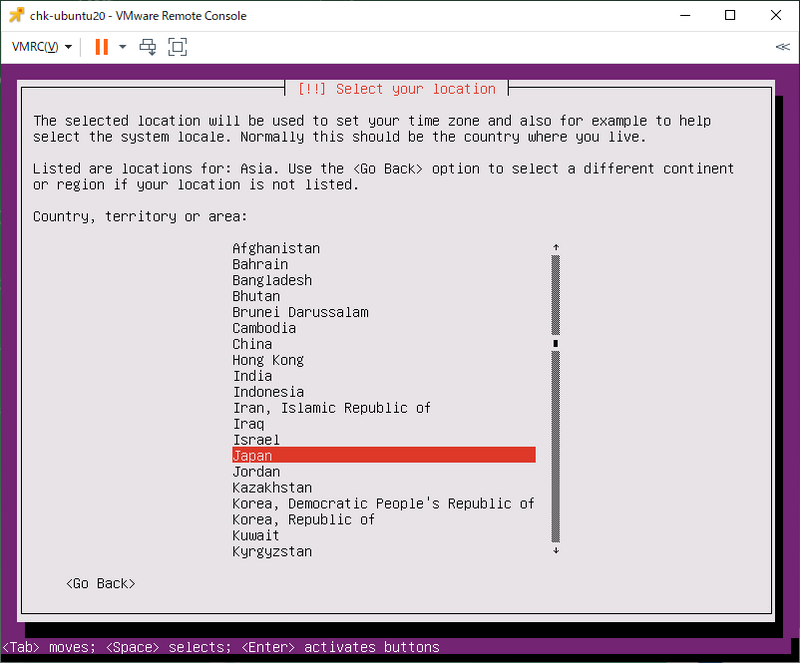
ASIA / Japanを選択 - キーボードを選択
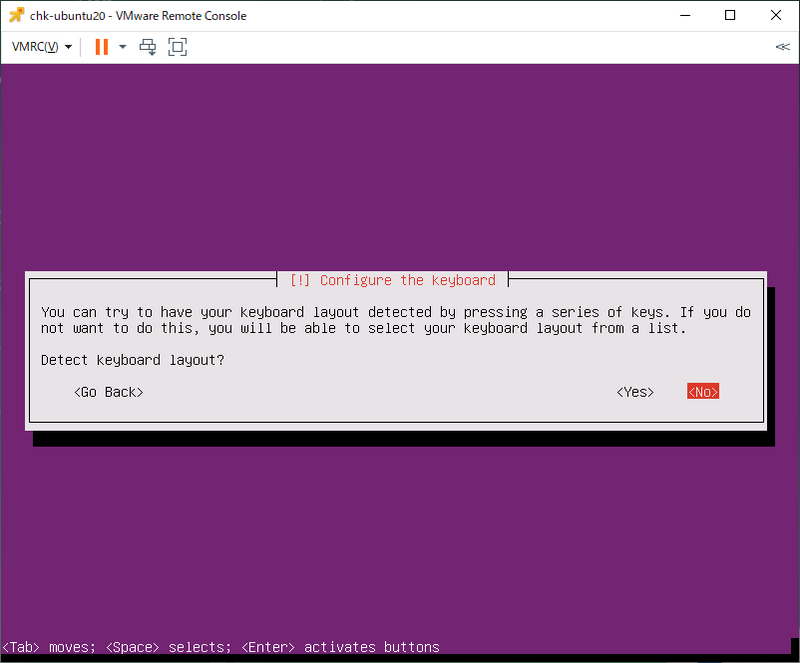
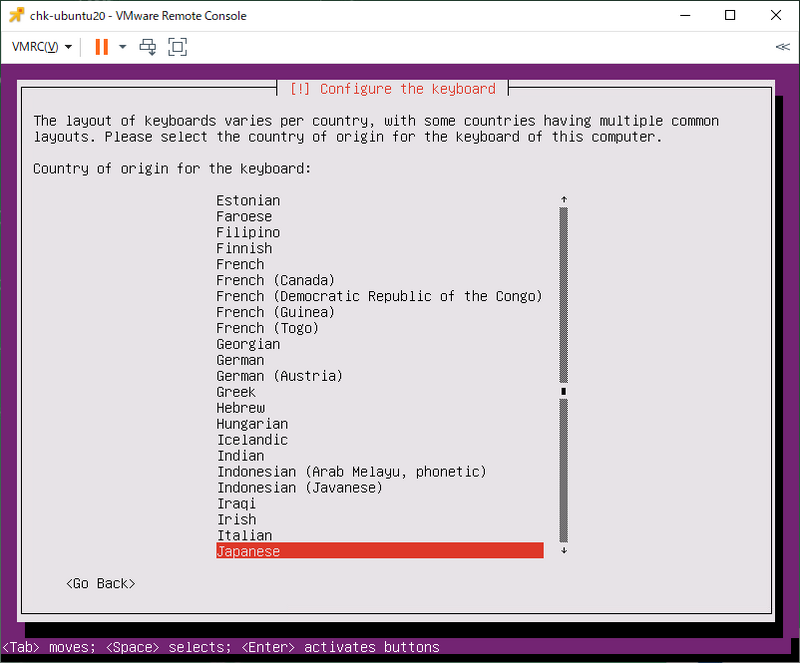
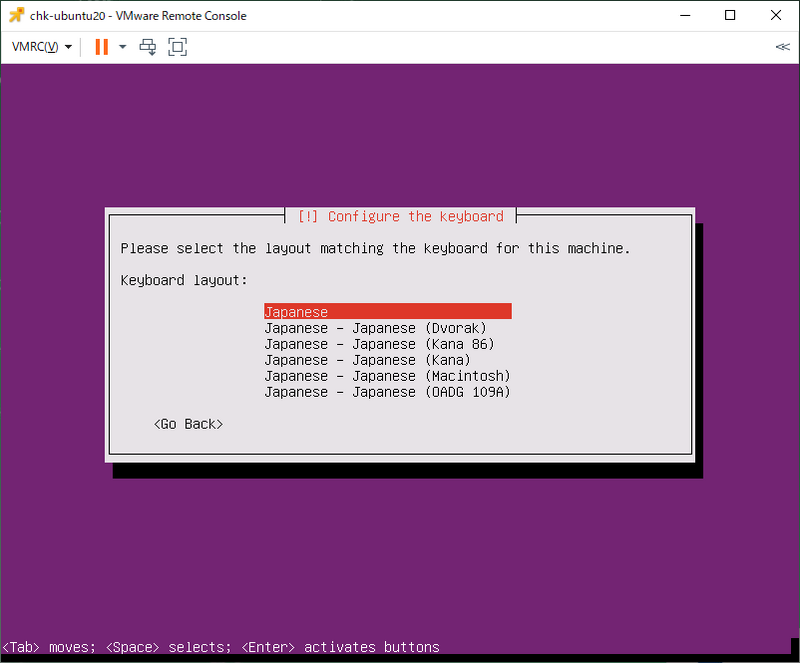
NO / Japanese / Japaneseを選択 - ホスト名の設定
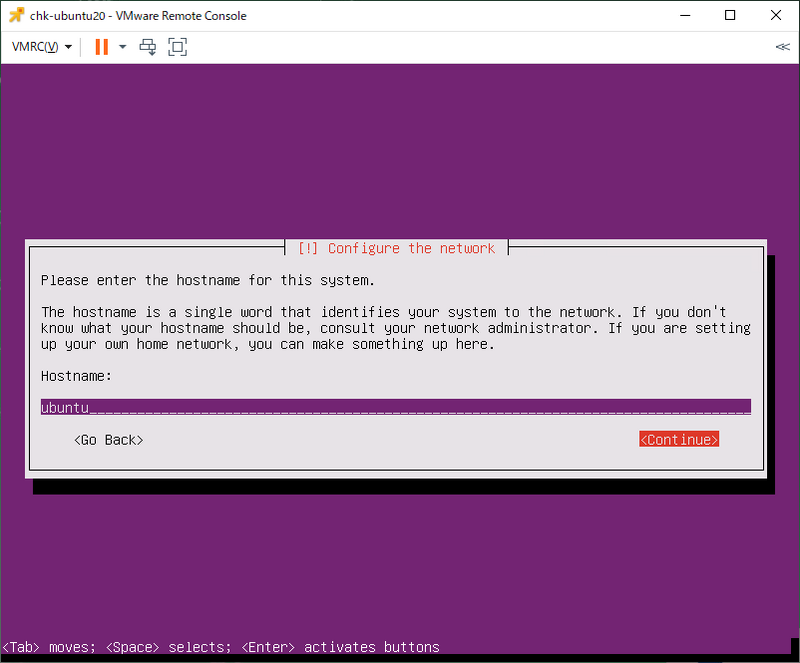
ホスト名を入力 - ネットワークの設定
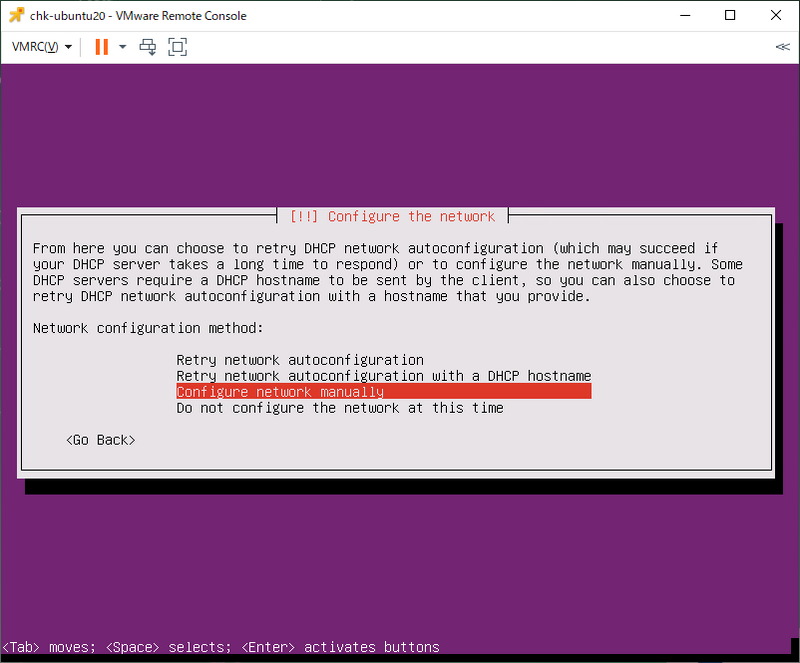
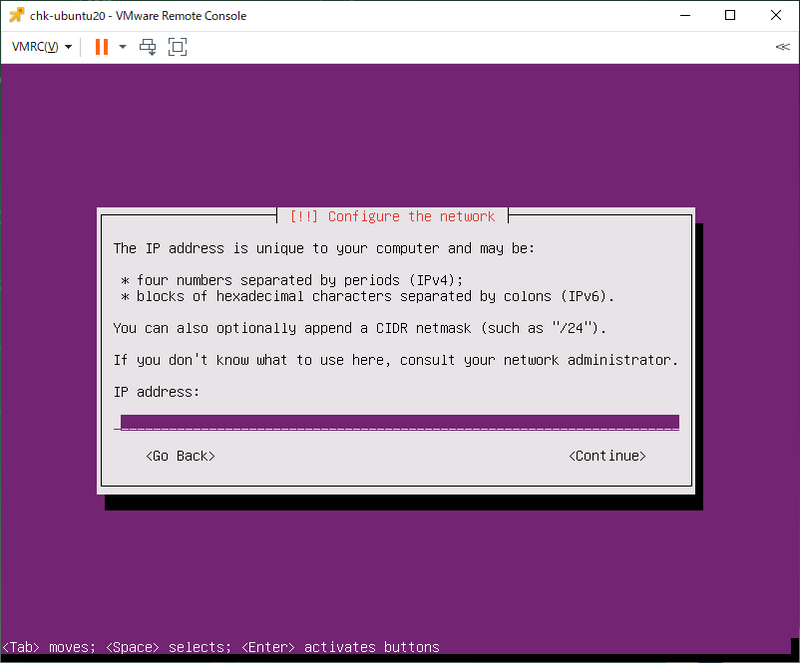
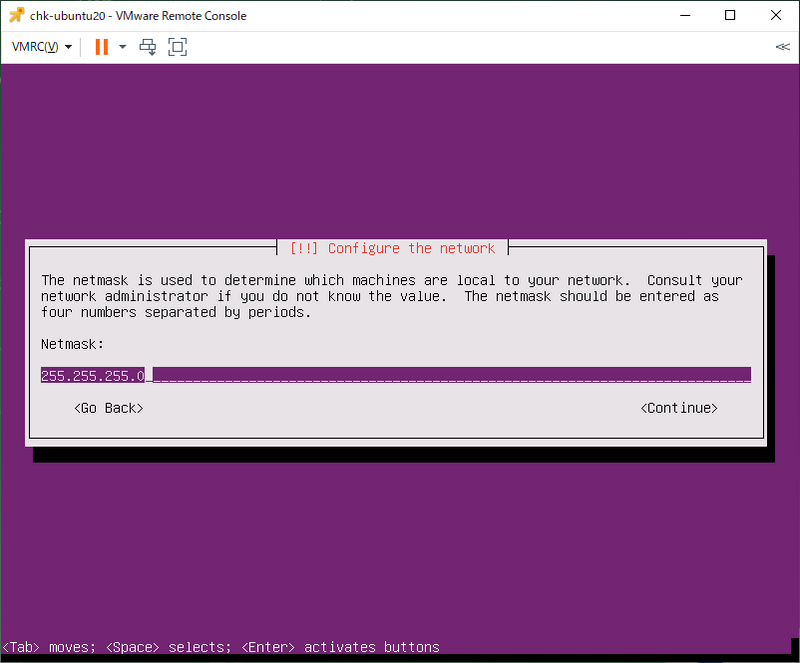
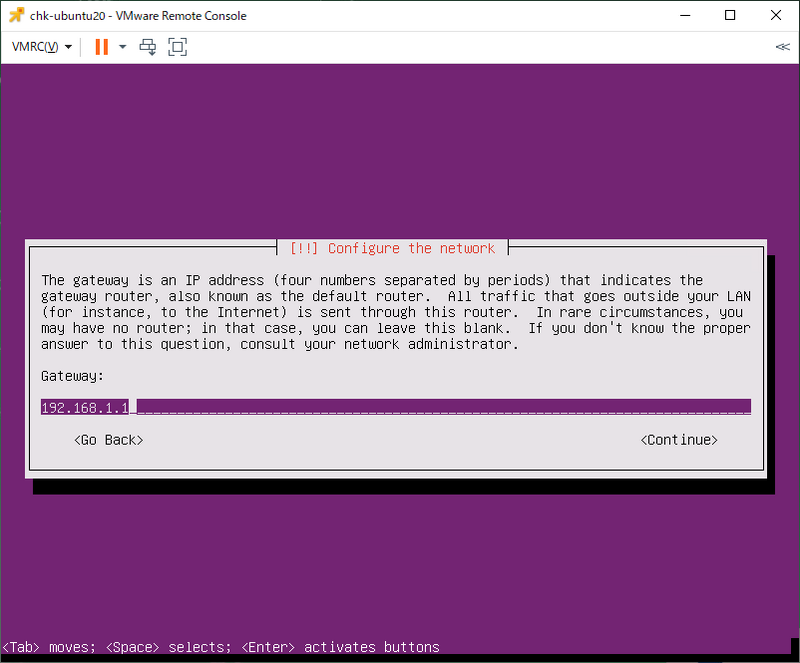
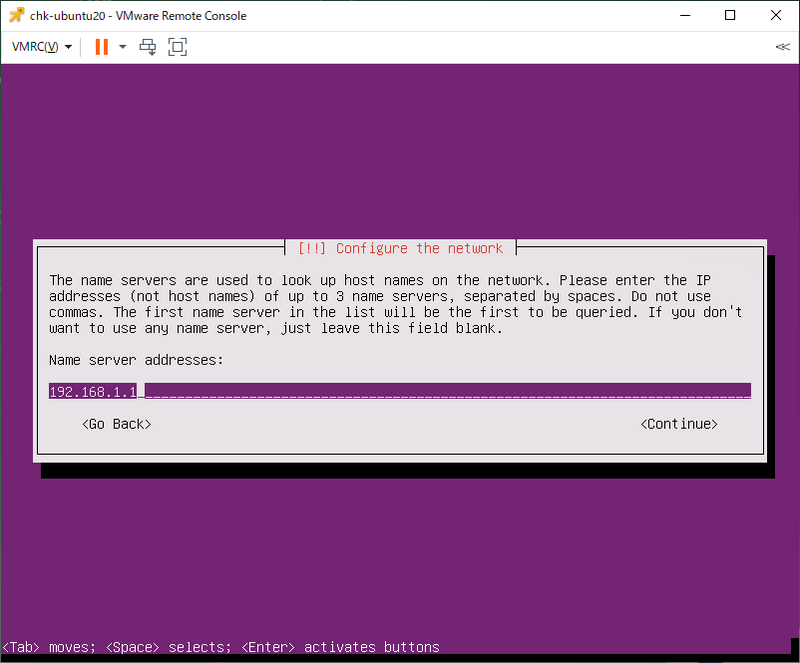
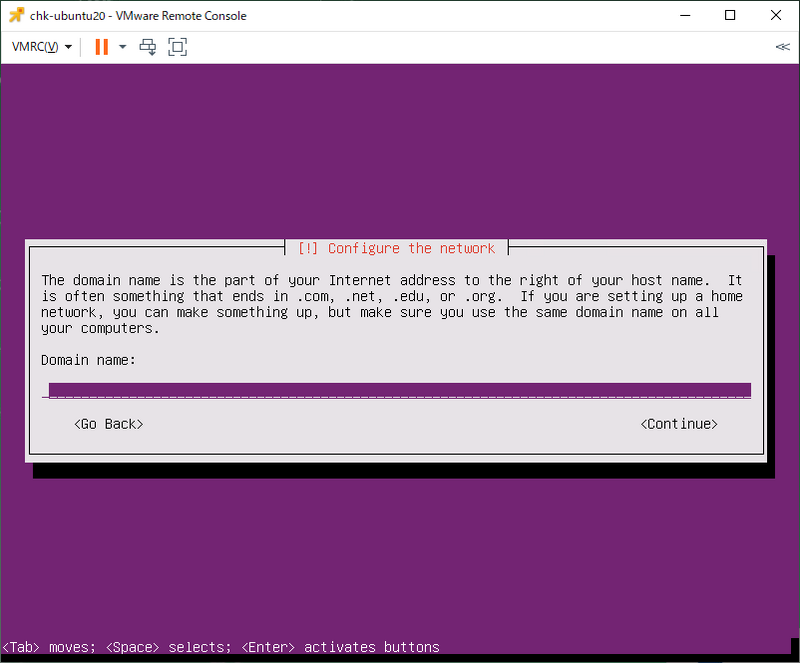
手動で入力する場合、Manualを選択し、それぞれ入力 - ネットワークインストールのダウンロード設定
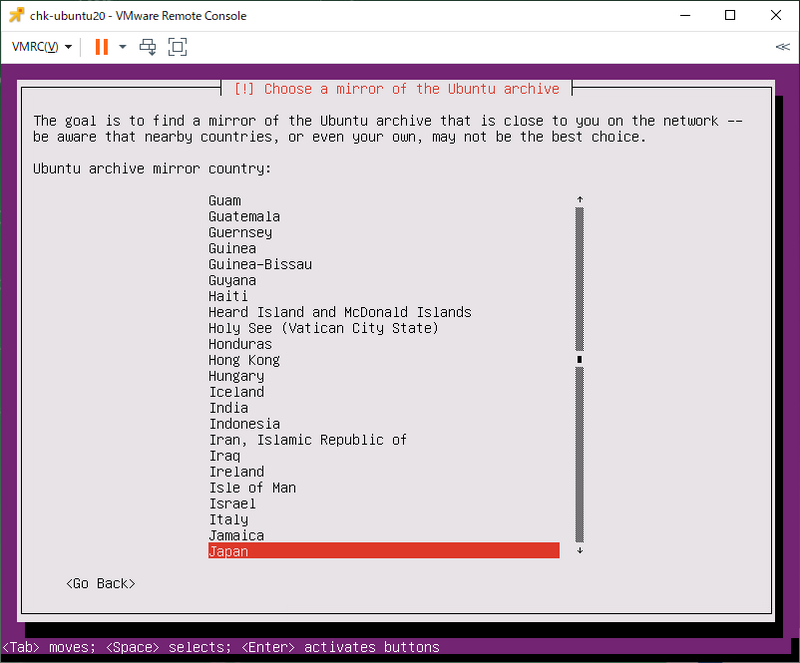
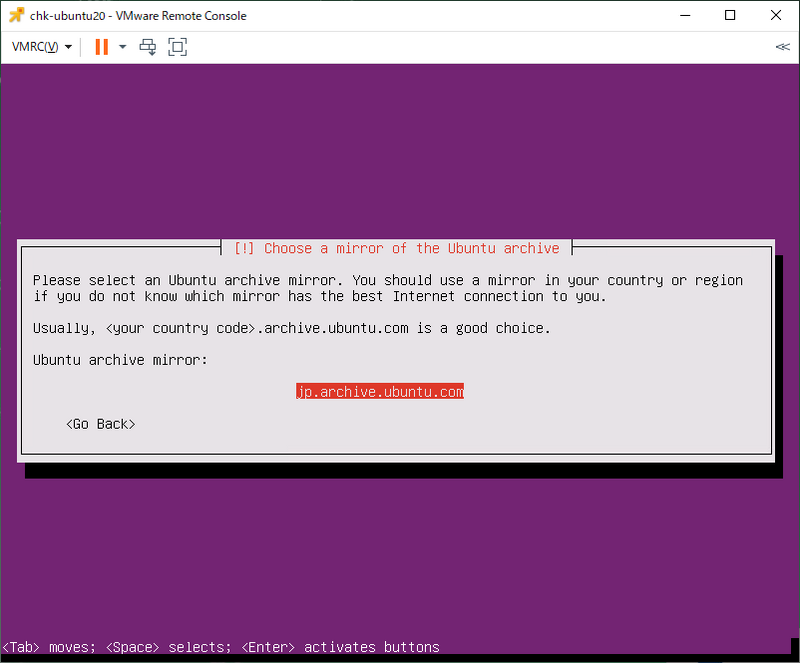
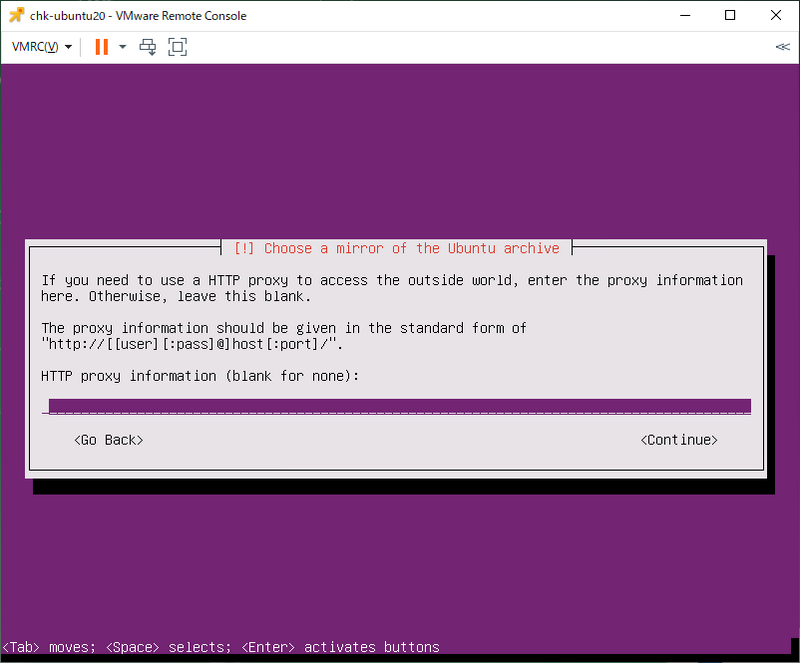
- 管理者ユーザーの設定
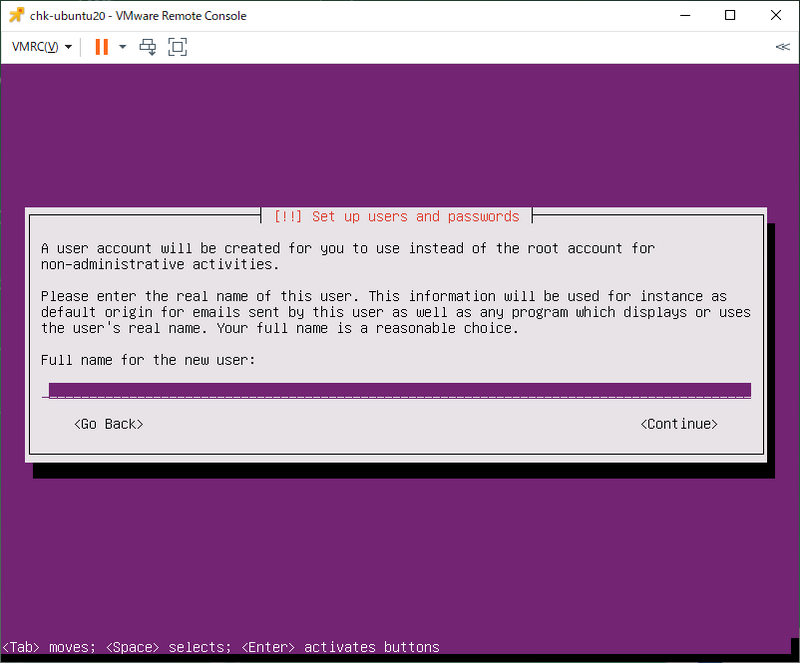
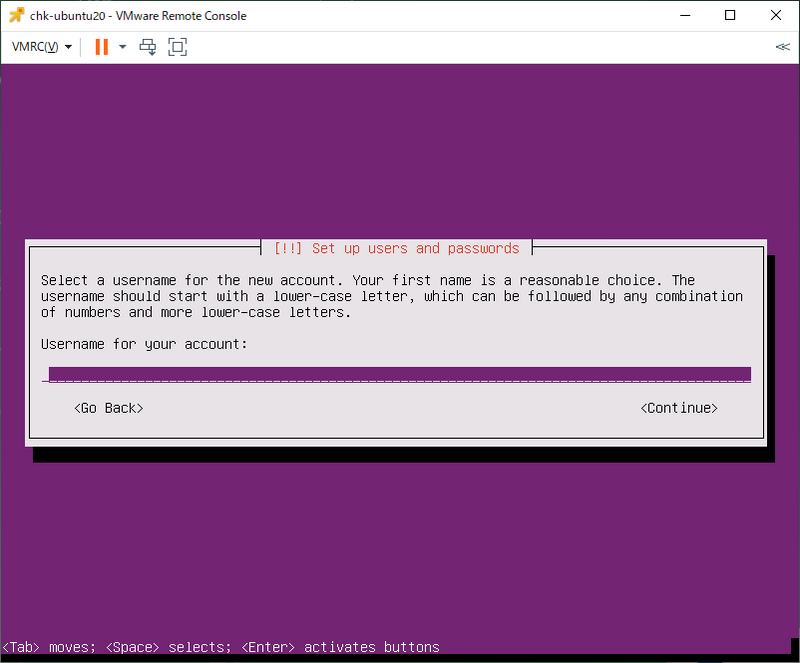
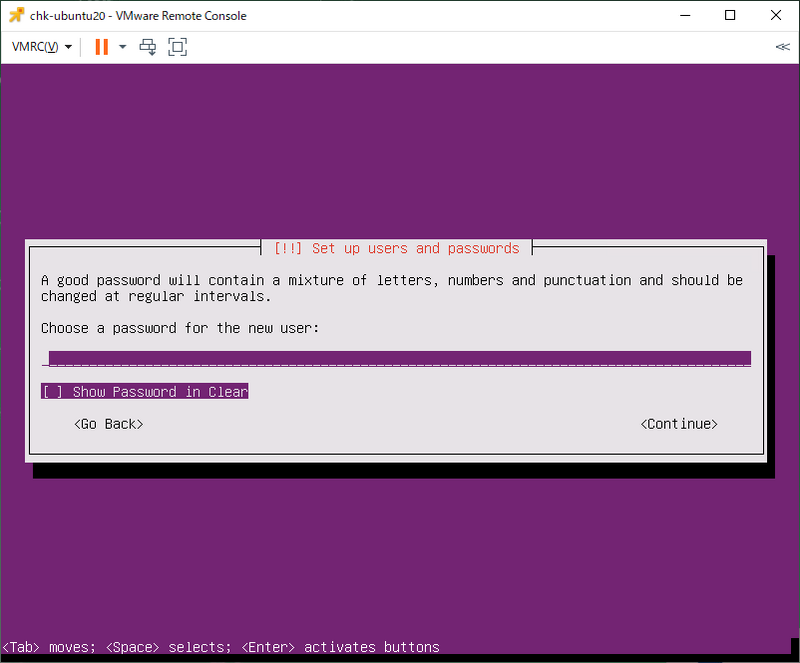
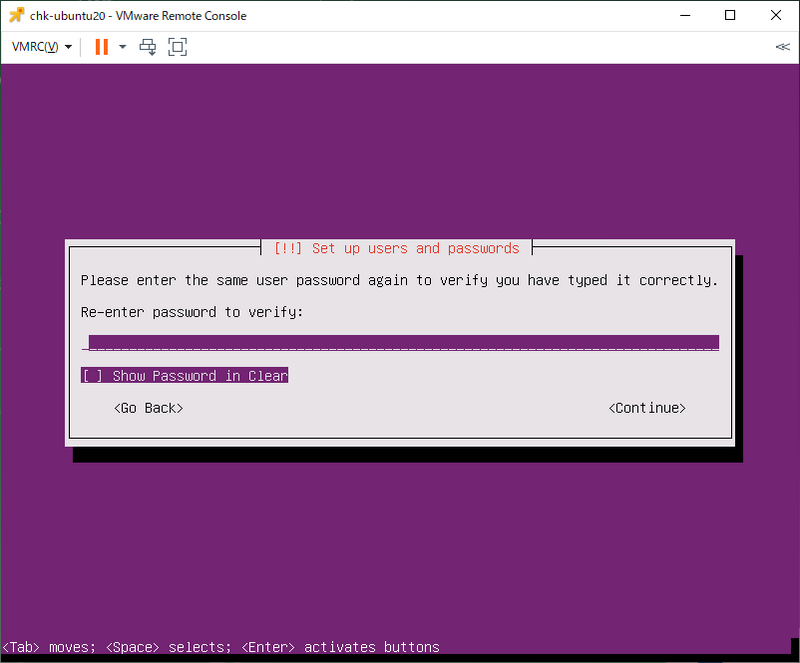
管理者ユーザー名、パスワード等を入力 - 時刻設定
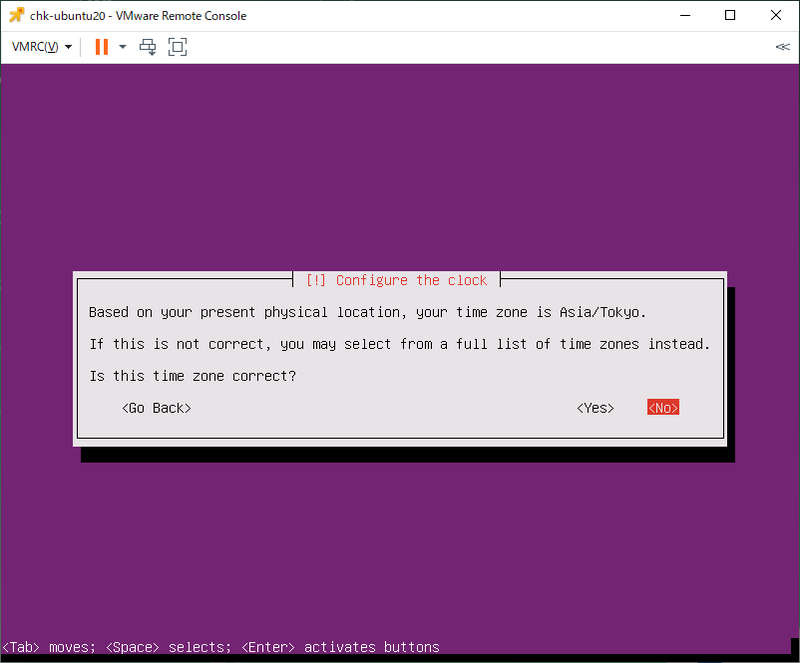
修正したい場合は、YESを選択して修正する - ディスクのパーティション設定
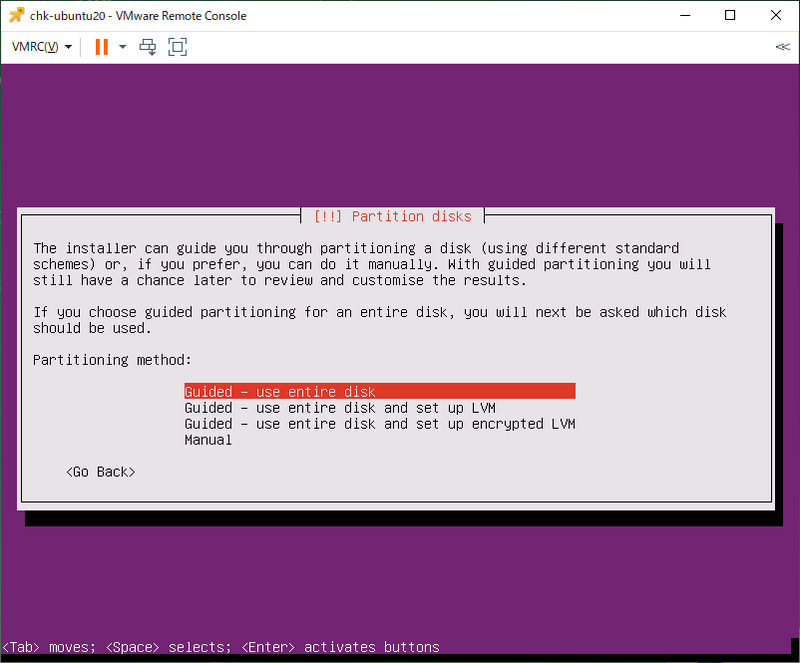
- ベースシステムインストール
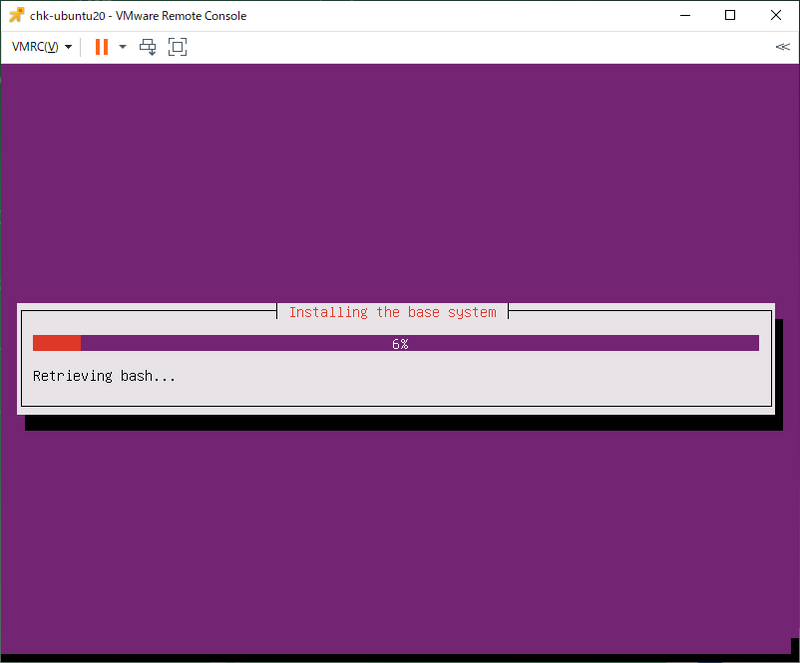
- 自動アップデート設定
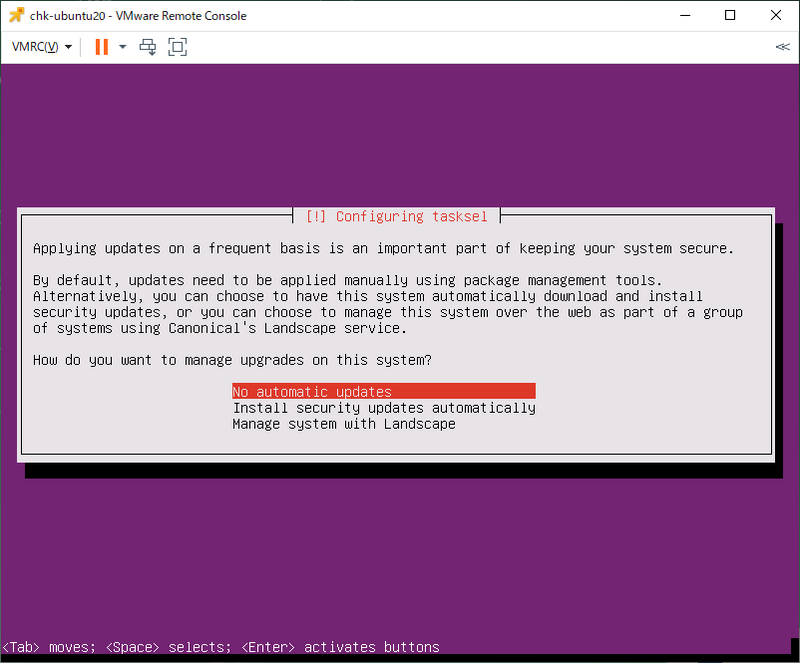
No automatic updatesを選択 - インストールソフト選択
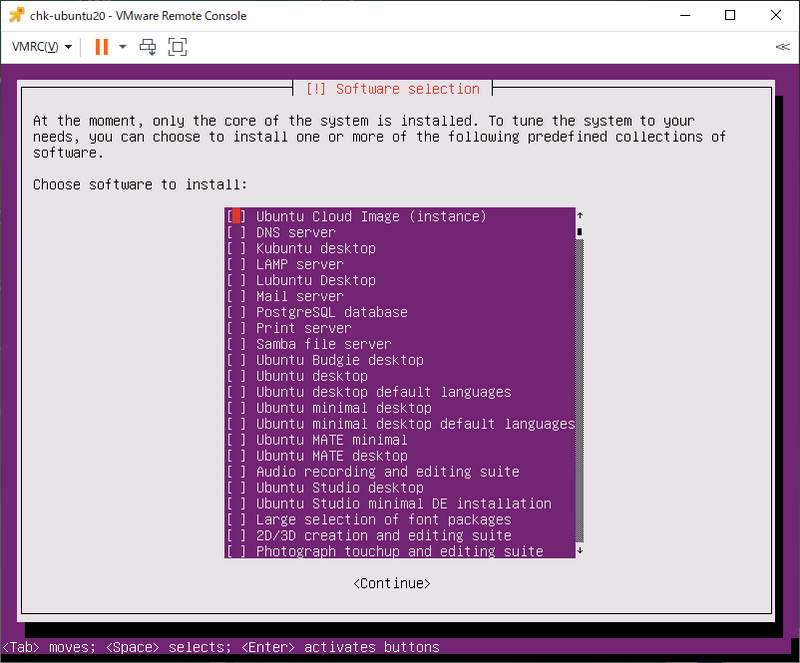
必要なソフトを選択 - ブートローダ設定
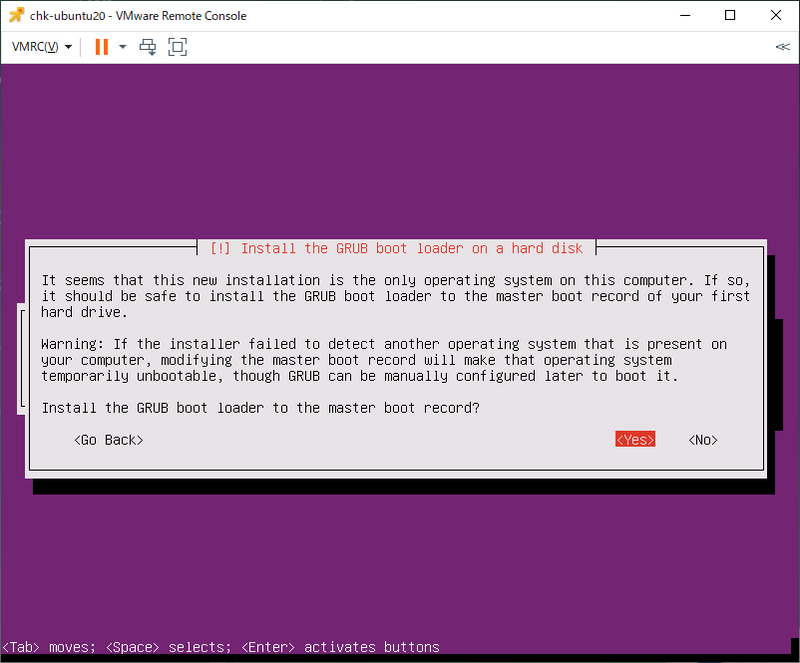
GRUBをインストールする場合YESを選択 - 時刻補正
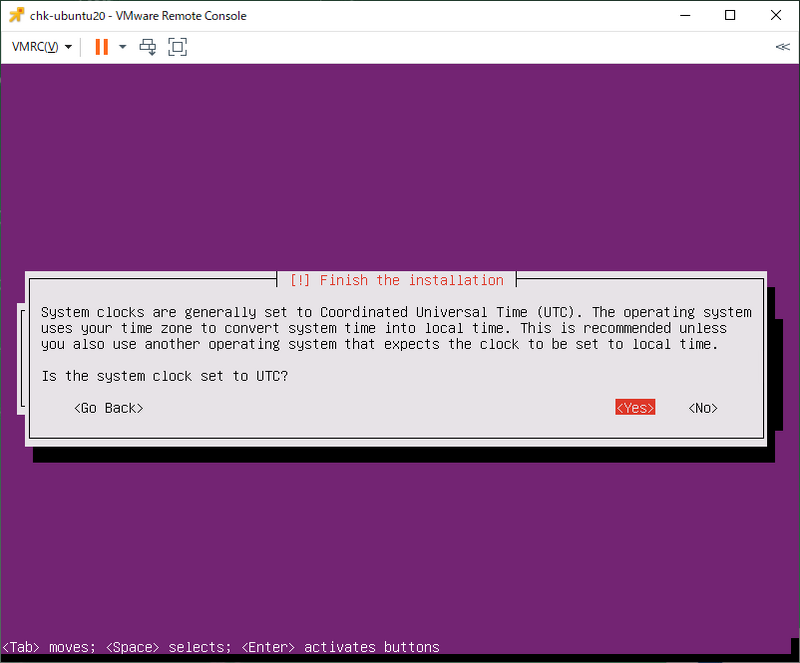
システム時刻がUTCの場合、YESを選択
以上
centos-stream
centos-streamちょっと触ってみました
centos8に比べて若干パッケージが新しい感じですね。
ちょっと主要なパッケージを比較しました。2019/12/31時点
os centos8 centos-stream Fedora31 Fedora Rawhide kernel 4.18.0-80.11.2.el8_0 4.18.0-151.el8 5.3.15-300.fc31 5.4.0-0.rc6.git0.1.fc32 httpd 2.4.37-12.module_el8.0.0+185+5908b0db 2.4.37-16.module_el8.1.0+213+acce2796 2.4.41-9.fc31 2.4.41-9.fc32 mariadb 3:10.3.11-2.module_el8.0.0+35+6f2527ed 3:10.3.17-1.module_el8.1.0+217+4d875839 3:10.3.20-3.fc31 3:10.3.20-3.fc32 php 7.2.11-1.module_el8.0.0+56+d1ca79aa 7.2.11-2.module_el8.1.0+209+03b9a8ff 7.3.12-1.fc31 7.4.1-1.fc32
まだcentos-streamがこの先どうなるのかわからないですが、注目していきたいと思います。
Ubuntu 18.04 upgrade
さっそく、Ubuntu 18.04にupgradeしてみました 最初にいったん更新
sudo apt-get update sudo apt-get dist-upgrade sudo apt-get autoremove
そのあと、upgrade
sudo do-release-upgrade -d
let's encrypt使ってみました
このサーバもHTTPS化対応したいと思い、let's encryptを設定しました。
ただ、WEBサーバにインストールするのもちょっとあれですので、別サーバで手動で、証明書を発行する方法で設定しました。
備忘として記します。
まずは、インストールを行います。
sudo yum install certbot
証明書生成を実行
certbot certonly --manual --config-dir=./config --work-dir=./work --logs-dir=./log -d www.example.com
- certonly : 証明書の取得のみ
- --manual : 証明書の設定は手動で行う(FRONTサーバは別サーバなので)
- --config-dir, --work-dir, --logs-dir : certbotをrootで実行しないので、証明書をroot以外で書き込み可能なディレクトリへ出力するため
- -d : https化する対象のWEBサーバ ※例:www.example.com
途中に
・メールアドレス
Enter email address (used for urgent renewal and security notices) (Enter 'c' to
cancel): example@example.com
・いろいろと承認
Please read the Terms of Service at
https://letsencrypt.org/documents/LE-SA-v1.2-November-15-2017.pdf. You must
agree in order to register with the ACME server at
https://acme-v01.api.letsencrypt.org/directory
(A)gree/(C)ancel: A
・EFFにメールアドレスを登録してよいか
Would you be willing to share your email address with the Electronic Frontier
Foundation, a founding partner of the Let's Encrypt project and the non-profit
organization that develops Certbot? We'd like to send you email about EFF and
our work to encrypt the web, protect its users and defend digital rights.
(Y)es/(N)o: Y
・準備OK?
OTE: The IP of this machine will be publicly logged as having requested this
certificate. If you're running certbot in manual mode on a machine that is not
your server, please ensure you're okay with that.

Are you OK with your IP being logged?
(Y)es/(N)o: Y
・証明書の発行するためのキー
Create a file containing just this data:
XXXXXXXXXXXXXXXXXXXXXXXXXXXXXXXXXXXXXXXXXXXXXXXXXXXXXXXXXXXXXXXXXXXXXXXXXXXXXXX
And make it available on your web server at this URL:
http://example.com/.well-known/acme-challenge/YYYYYYYYYYYYYYYYYYYYYYYYYYYYYYYYYYYYYYYYYYYYYYYYYYYYYYYYYYYYYYYYYYYYYYYYYYYYYYY
Press Enter to Continue
・ここで、実際にWEBサーバに上記のファイル名・内容でファイルを作成し、エンターキー押下
Waiting for verification...
Cleaning up challenges
Non-standard path(s), might not work with crontab installed by your operating system package manager

IMPORTANT NOTES:
 - Congratulations! Your certificate and chain have been saved at:
   .../config/live/example.com/fullchain.pem
   Your key file has been saved at:
   .../config/live/example.com/privkey.pem
   Your cert will expire on 9999-12-31. To obtain a new or tweaked
   version of this certificate in the future, simply run certbot
   again. To non-interactively renew *all* of your certificates, run
   "certbot renew"
 - Your account credentials have been saved in your Certbot
   configuration directory at .../config. You
   should make a secure backup of this folder now. This configuration
   directory will also contain certificates and private keys obtained
   by Certbot so making regular backups of this folder is ideal.
 - If you like Certbot, please consider supporting our work by:

   Donating to ISRG / Let's Encrypt:   https://letsencrypt.org/donate
   Donating to EFF:                    https://eff.org/donate-le
certbot起動時の引数(config-dir)で指定した、ディレクトリの下の上記のディレクトリに各種証明書ファイルができました!
